Onboarding Screens
Make a good impression on new users and ask for permission at just the right moment.
Users want to learn more about an app's features so that it offers greater value to them. So onboarding screens are not just a brilliant tool to give an introduction to the app.
They are also great for telling the user why certain permissions (notifications, localizing, etc.) are needed. Again, if the user knows why this is for, he will likely grant this permission.
The onboarding screens are only shown at the very first app launch. If you already have a xamoom app (that has this feature), you must re-install the app.
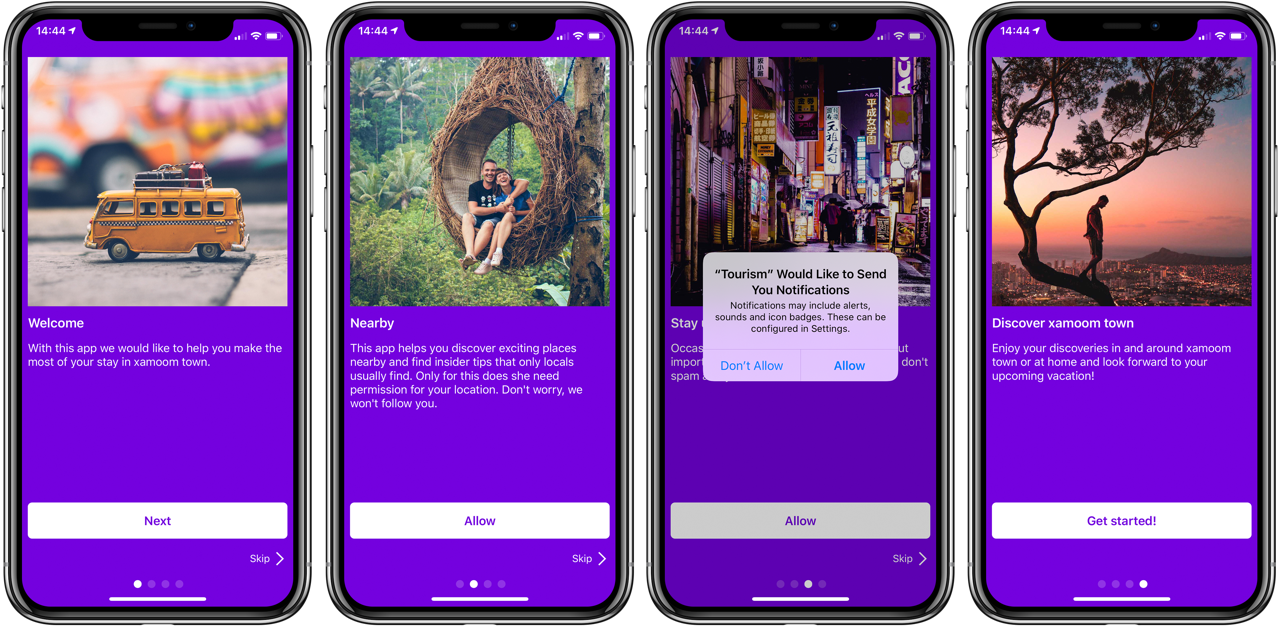
Sample of four onboarding screens
You can have as many onboarding screens (though you should not use more than four or five) in any language you want. The best is that you can configure those screens in real-time. Any changes that you make are live now. No app update is needed.
You create a new page for every onboarding screen you want to offer.
These pages are tagged with the tag “x-onboarding” and are displayed in ascending order (from their page's name). So, for memorizing best, you name the pages best in the following manner:
- Onboarding01
- Onboarding02
- Onboarding03
- Onboarding04
- ...
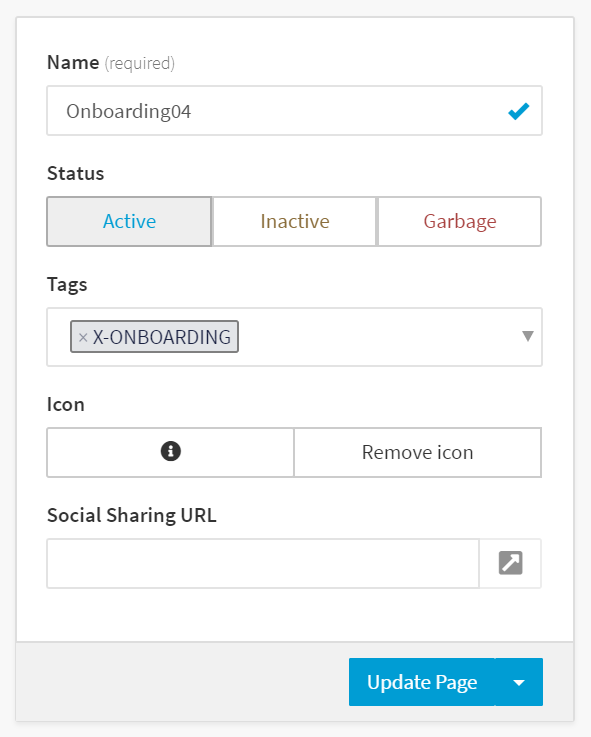
Do not forget the tag “x-onboarding”. Since sorting is ascending, this is onboarding screen number 4.
The content of the screen comes from:
- Cover image (squared),
- Title and
- Excerpt
Title and Excerpt can, of course, be localized to any language you want to serve.
You can completely customize the onboarding screens to meet your needs. In order to do so, you must activate a CMS feature called “Custom metas” on the settings screen.
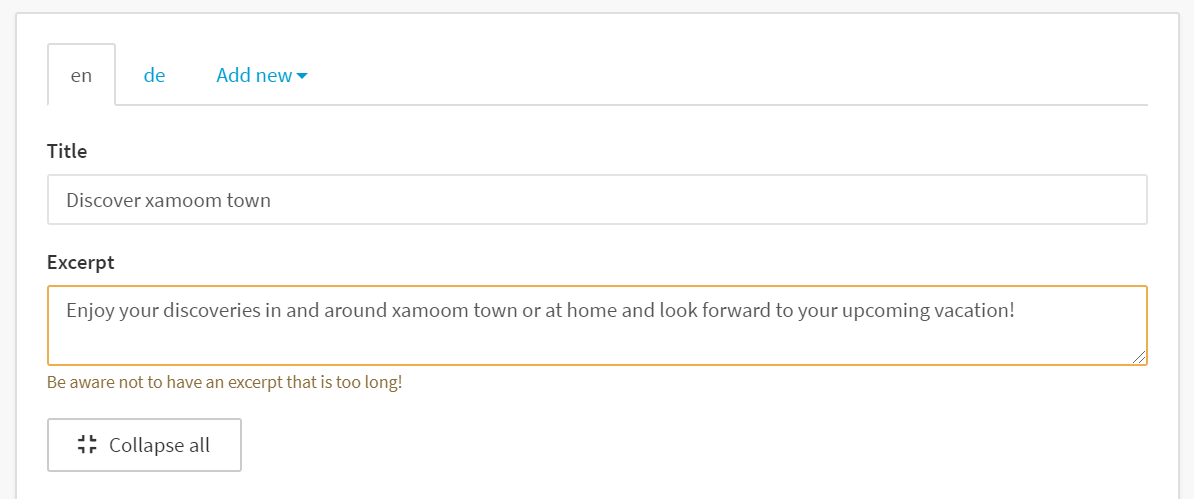
Fill you onboarding screens by entering text to title and excerpt.
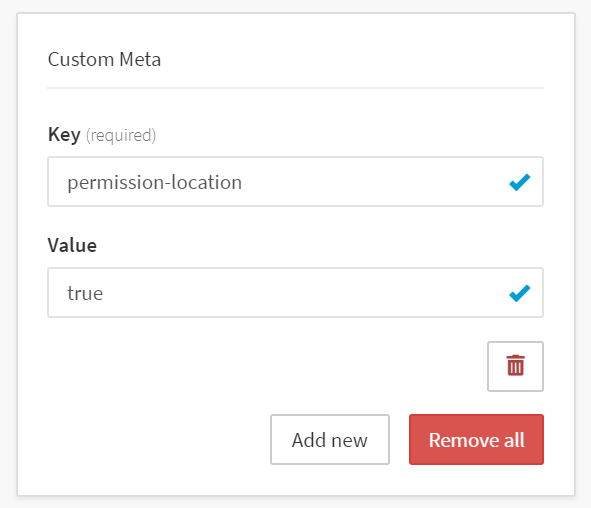
Inserting permission dialogs
On the screens you wish to add permission dialogs, you can do so by entering the following keys and values:
- Permission to locate the user:
permission-location | true - Permission to send the user notifications:
permission-notification | true
Note: On Android (up to version 10), there is no need for a permission notification. That is why an onboarding screen with the custom meta set to “permission-notification” and “true” is left out and will not be displayed.
If authorizations are not granted here, they will be requested again later.
Only a few words are needed for the apps to display a dialog.
Change the wording of the buttons
We recognize that every app needs to be unique. The buttons and labels of the onboarding screens (like “Next”, “Allow”, “Skip” or “Get started!” can be changed with keys and values as well.
On the first onboarding screen, you can add the following custom metas to your page in order to customize the wording:
- Change wording of the “Skip” label in English
skip-label-en | Skip - Change wording of the “Skip” label in German
skip-label-de | Überspringen - Change wording of the “Next” button in English
more-label-en | Next - Change wording of the “Next” button in German
more-label-de | Weiter
On those onboarding screens where you deal with permissions, you can customize the “Allow”-button with the following custom metas:
- The wording of the allow button in English
allow-label-en | Allow - The wording of the allow button in German
allow-label-de | Erlauben
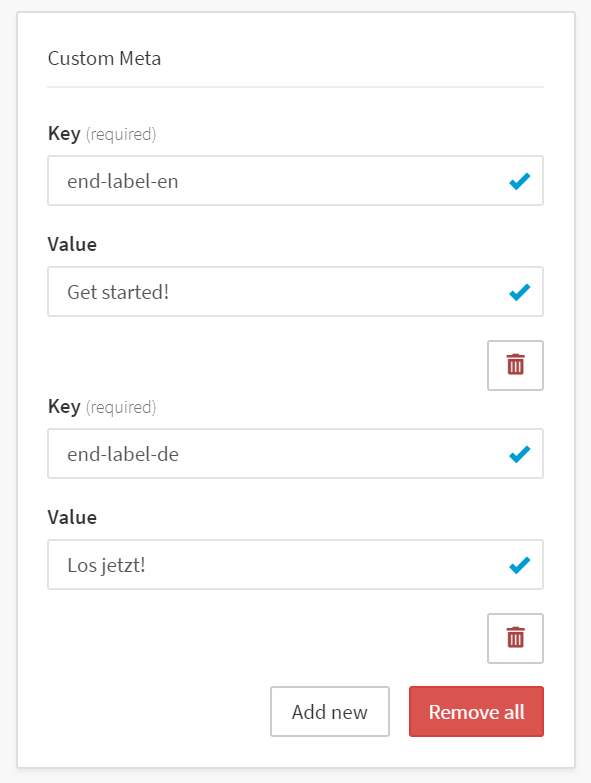
Finally, you can modify the last onboarding screen:
- Customize the “Get started!”-button for English
end-label-en | Get started! - Customize the “Get started!”-button for German
end-label-de | Los jetzt!
Even more languages: You see that you can change a word in a certain language by adding the two-digit language code: fr for French, es for Spanish, nl for Dutch, and so on.
You can easily customize the wording of any button or label of the onboarding screens in real-time.